Contact us if you would like to enable ACH Payments for your users.
Once enabled, check your User Settings and make sure Allow users to pay online is set to Yes. When set to Yes, users will be able to setup ACH in their account by selecting their name in the far right corner > My Account > ACH tab > Add ACH. You can also set up ACH for each user by going to Manage > Users > Select a user > Payment > ACH tab > +New ACH.
In your General Settings – Payment Types you will see ACH. By default, all administrators and instructors have access to all payment types until configured. You will want to edit ACH Payment Type to select the groups allowed to use it. You can also select All.
Once added, users will be able to pay via ACH at the end of the check-in process.
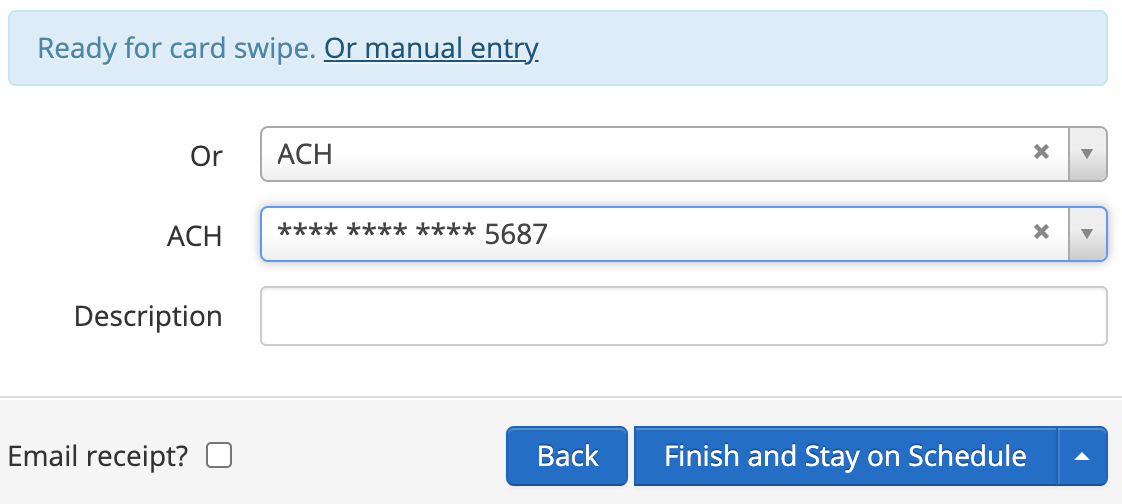
ACH will also appear as a selection when adding Auto Pay.
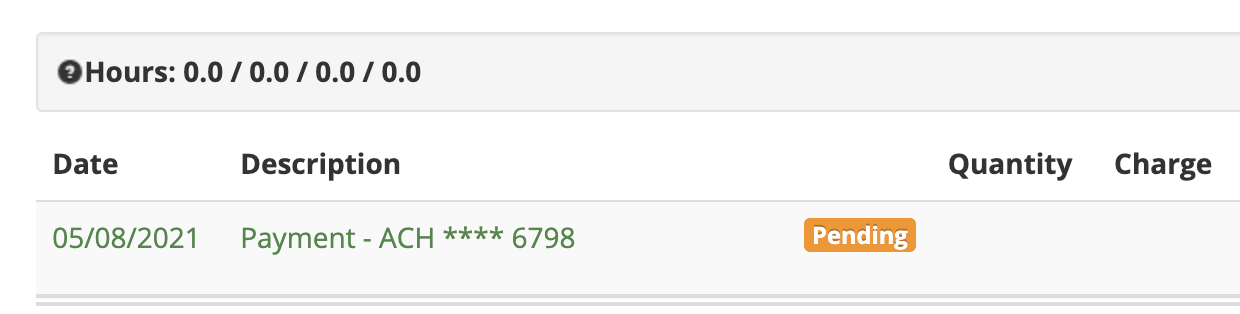
Once the ACH transaction is posted you will see a Pending status in the user’s ledger. It usually takes a few days to clear. Once cleared you will see the Pending status drop off. If the payment does not go through you will see the status Returned and the payment reversed.
You can Refund an ACH payment just like a Credit Card Payment by selecting Options > Refund to the right of the transaction in the user’s ledger.